- 10 Posts
- 22 Comments
This might be a bit of a non-answer, but my favorite thing about nerf is how different blasters can be different from each other while all being viable for use in most games. In a friendly nerf game in the park, you might see revolvers alongside lever-action rifles alongside dual-wielded derringers.
There’s a soft spot in my heart for Swarmfires and Rayvens, largely becasue those were among the best (for HvZ, for a “shoot lots and protect other humans” playstyle) blasters in production at the time when I started playing.

 1·4 months ago
Others have suggested greasing the dowel or using bearings, and if the issue was friction, then they’d be right.
If the issue is inertia, then this won’t help. Accelerating a given mass to a given velocity requires a certain amount of energy, no matter what.
What could help is something similar to a Huygen drive, where the filament is looped around a large wheel (large enough that the filament can curve around it without breaking) which is able to move against a spring or counterweight. This would allow the movement of the spool to be “averaged out” rather than accelerating and decelerating sharply on every extrusion and retraction.
I have experience buying, not selling, but should still be able to help.
Local sales are the way to go for 3d printers. Local sales also allow people to see the printer and check that it works as they expect before committing to buying it. Most people will pay more for a known-working printer than a the-owner-says-it-works one. Local sales also avoid shipping which, in addition to the downsides that you’ve discovered, caries some risk for the printer. The downside of local sales is that you might have to wait for a long time until someone nearby wants the type of printer that you have (or until someone who doesn’t live nearby opportunistically picks up the printer as they were going to pass near you anyways).
Nealy everywhere has a Craigslist-like for local sales, which could be Kijiji, Letgo, FB marketplace, etc. There’s no harm in listing the same printers on multiple sites to see which one gathers the most interest. (Just please make sure to take all of the listings down once the printers are sold.)
Fellow OpenSCAD user here. I’d recommend it to anyone as a thing to try, but not necessarily as a thing to certainly end up using.
I love how much control it gives you over your designs and how you can use that to make intelligently parametric parts. I’m continuously frustrated by how it expects you to make (or find libraries for) everything from scratch. For example, I’ve recently discovered ClosePoints which is (a) brilliant and (b) makes me wonder why the heck this functionality isn’t built-in or at least in a default library. I’ve also found that using it for anything complicated has forced me to learn how to write better-organized code.
You still have to put in work to learn how to use it. It’s just a different kind of work.
Yes, it appears so. Of course, the final product could end up being different, but these are very promising promotional previews.
 2·6 months ago
Good catch. That’s good news if true, not becasue Rival barrels would be useful (IMO they wouldn’t for most people), but because it means that Hasbro has plans to keep the Rival line around. Hasbro has cycled out ammo formats before, and people would miss Rival.
OK, wow. Hasbro’s aesthetic design team really knocked this one out of the park. This is far more than you’d expect for what’s functionally a pretty simple springer.
I remember. Flywheel tech was a huge thing for nerf when Hasbro figured out how to make good flywheel blasters. The Rapidstrike was a direct upgrade from the Stampede in nearly every way - more energy efficient, meaning a build could deliver the same power with smaller/lighter batteries, much less risk of runaway firing, and no worries about the geartrain breaking. The main thing that the Stampede had going for it was a very situational advantage: it worked as well with wet as with dry darts.
Before the Rapidstrike, Rayvens and Stryfes were very popular. (Barricades were good for their day, but compared to modern flywheelers . . . well, there’s a reason why we don’t see flywheel blasters with serrated flywheels or intended for use with whistler darts.) I remember hearing speculation that Hasbro was working on something “like the back of a Nitron and the front of a Stryfe” and that it was going to be good - and oh man, that speculation was just spot-on.
Now? Rapidstrikes are one of many good options and most people who would want one have several - but for a time, they were something quite special.
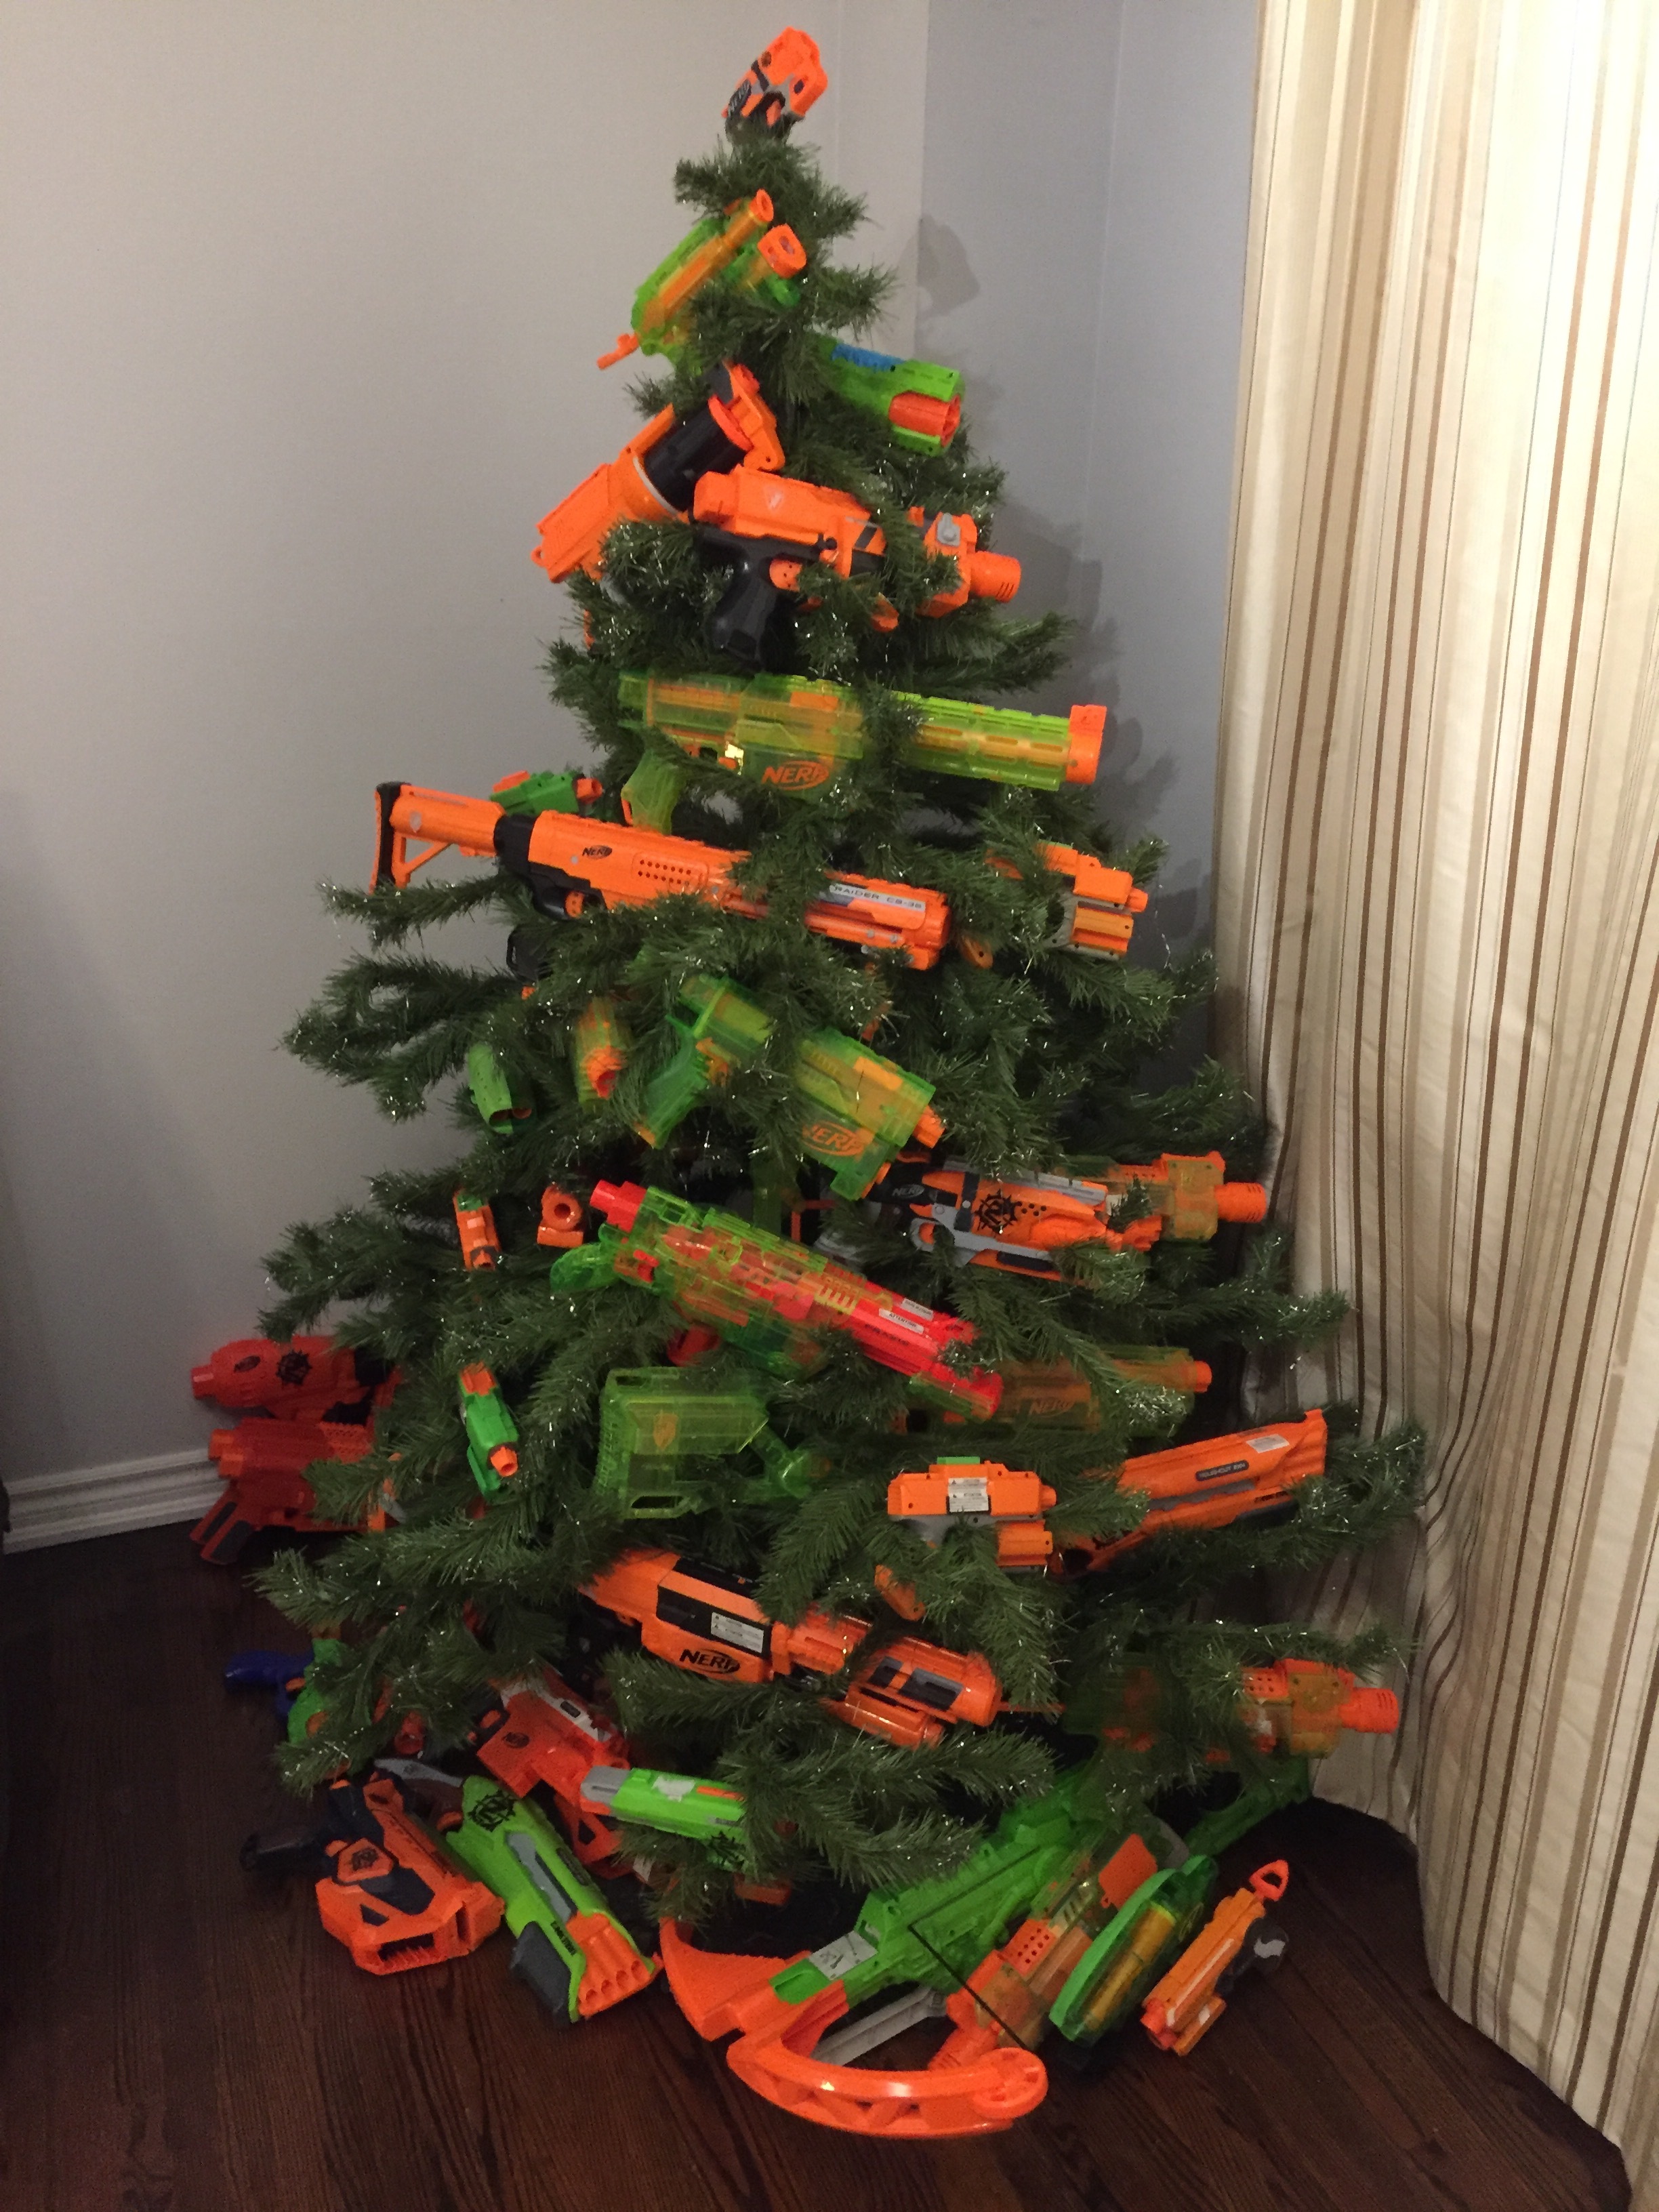
maybe I’ll do some mega for red.
Thanks, and that’s a good idea. I’ll remember it for next year.
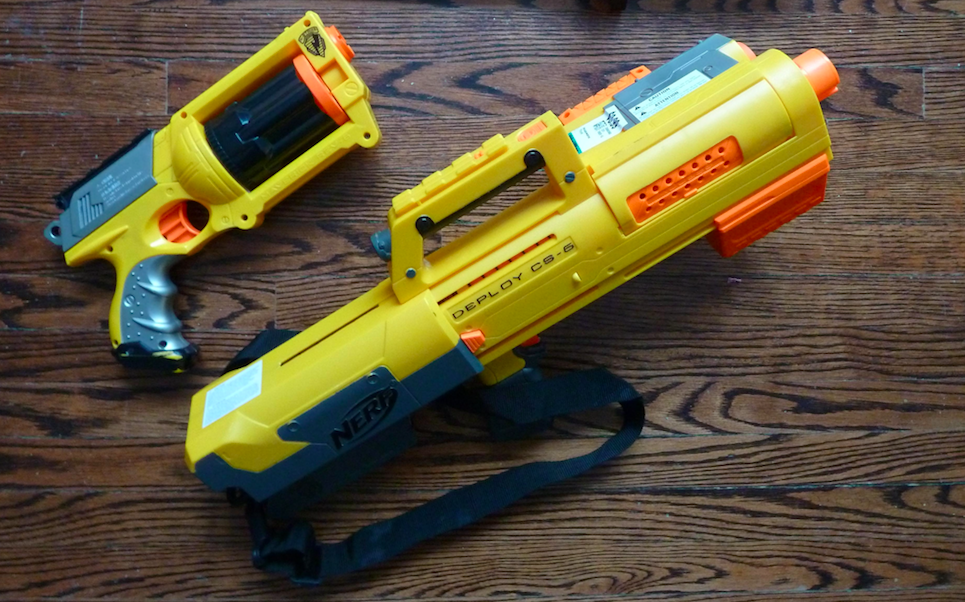
I didn’t have as much mega then as I do now, but I did have a good number of Titans - which were too heavy for the tree to support.
 1·11 months ago
It’s auto-posted videos by Linus that are being downvoted, and the “by Linus” seems the more relevant factor than “auto-posted.” I’ll admit that I’m a little bit out of the loop, I am aware that there’s several major controversies surrounding Linus right now. Videos critical of Linus are being upvoted, sometimes dramatically.
This situation has the smell of a bog-standard internet controversy. Linus’ reputation might or might not recover when people forget about the whole thing. His media group might or might not end up distancing itself from him before that happens.
If there’s any action that I’d recommend taking in response to all of this, it’d be re-evaluate whether you want to say “they’re awesome” in the sidebar. Right now you might be unintentionally giving the impression that you (and by extension the moderators and by extension the community) are on Linus’ side. I assume that you’d rather support a neutral discussion space (but I could be wrong).
I’ll second all of what Ali said, but I’d also like to add that not all games these days even allow homemade darts due to safety concerns. The worst-case here would be a felt tip falling off and exposing the metal washer underneath.
For this reason some darts were made without a washer at all - and with either a solid lump of hotglue serving as the weighted tip or with a small BB in the bottom of that hole for weight (which guide Ali linked might already say? There’s a follow-up post saying that it was updated to include metal-free dart tips but I can’t find where it describes how to make them.)
OP, I’d recommend reconsidering whether you want a hard tip. If you’re running into issues with people not feeling and not taking hits, improving the velocity of your blaster will solve that while also providing greater range a difficulty-to-dodge. (If your problem is people “not feeling” and not taking hits - then that’s not something that any modification can solve short of something actually dangerous.)
If you do have a good reason for wanting a harder-than-normal tip, then 3d printed tips are an option. TPU is available in a variety of hardnesses and differing infill and tip geometry should theoretically allow you to design a tip with whatever characteristics you want. I wouldn’t recommend this - most people don’t other with homemade darts at all any more and there’s good reasons for that - but it is an option if you just want homemade darts.
This would have been absolutely brilliant if it was released 3 years ago.
I haven’t even gotten to the best part: the Nerf Pro Stryfe X fits magazines and darts from other brands.
This is surprising given Hasbro’s past attempts to push proprietary ammo. I haven’t said this for a long time, but good for Hasbro.
$120 feels like a bit of money for a semiauto blaster when Dart Zone just began shipping the $90 select-fire Omnia Pro.
Indeed it does.
the Stryfe X’s new rails and lack of barrel adapter break compatibility with a decade of body kits
Wait, isn’t compatibility with existing kits the biggest benefit of keeping the form factor of the Stryfe? This doesn’t make sense.
As happy as I am to see Hasbro moving into the modern era, I’m concerned that this may be too little, to late, too expensive.
I’ve yet to see a printed mag adapter - but having the mag come in from any direction other than the top would require modifying at least part of the connection between the plunger tube and the pump grip, so if you’re doing that sort of work you may as well use another blaster’s magwell anyways.
The Sportsman is one of those blasters that I wish was more widely used. It’s not just the it has potential in certain specific roles - it’s unique, and impressive that it can work as well as it does.
I wouldn’t go so far as to say that this sucks - but, yes, there is room for improvement.
-
Good lighting improves a picture in both subtle and unsubtle ways: better colour rendering, more details, and (assuming that you’re using a modern camera which automatically adjusts shutter speed based on lighting) also a sharper image. The best and easiest lighting to use is daylight. I’ve found that having lots of lamps to bounce light around a room also helps, but lamps are just an OK supplement and poor substitute for a big window.
-
A clear background helps to draw attention to the blaster itself as there’s less detail to compete for visual attention - plus, an uncluttered space just looks nicer. I sometimes put blasters on the floor if there’s no other clear space available.
-
Composition-wise, having a blaster occupy nearly the full frame of the picture makes it feel weirdly cramped where it’s close the edges of the picture. Zooming out a little helps - but not too much. It’s IMO more important to have space in front of the muzzle than behind the stock so that the blaster feels like it’s pointing “into” that space. (For the same reason, it’s generally considered bad for a picture of a person looking sideways to clip the frame right in front of their face - but having a frame edge right behind them is OK).
Zack Freedman has a lengthy video on the subject of making project videos that people want to watch. About half of that also applies directly to project photos that people want to see and much of the rest can be adapted.
The 80/20 rule applies to pictures of nerf blasters, except in this case it’s more extreme: less than 20% of the effort that a professional photographer would put in can get you more than 80% of the results. Just taking pictures in daylight, with an uncluttered background, and with basic composition can produce very good results.
Also, if you’ll excuse a nitpick - it’s “blaster,” not “gun,” to avoid misunderstandings that can be both disruptive and dangerous.
I hope this helps.
-
Huh. This might just be one of those obvious-in-retrospect ideas that nobody thought of.
I don’t think they’d make a great catch, for whatever it’s worth. Bulk and weight is an issue; connecting them to an ergonomic trigger may be another. Handcarving something usable that’s much smaller out of plastic hasn’t proven to be too difficult.
With that being said this could make a wonderfully giggle-worthy build.
Thanks! I made a trawling expeditions through the local thrift stores back when I lived in Toronto. I’ve found that thrift stores are better for building an arsenal but kijiji is better if you’re looking for something more specific - in both cases you’re paying with time to get things that aren’t otherwise available, but with kijiji it’s almost free to look frequently even if you don’t often see what you’re looking for.
Edit: Melpomene beat me to it, and with a more helpful answer too. Ah well. But in case going through Etsy doesn’t work out, you have another option:
Secondhand BuzzBee shells can be found on ebay, as can unopened refill packs (with darts) - although for the latter at prices that’d easily make your ammo more expensive than your blaster. AFAIK this ammo system has been discontinued by the manufacturer.
The darts that this blaster uses are different from what has since become the industry-standard full-length dart: these ones have larger holes and the shells contain correspondingly larger dart pegs. So unfortunately you can’t just grab some shells and shove normal darts into them.
However - if you remove the dart pegs, that might work. These darts are also shorter than normal darts so you may also need to chop a little bit of foam off the back of each dart.
There’s also an untested 3d printable option for shells, which AFAIK should be compatible with normal darts as it has not dart peg.
This isn’t a blaster that’s widely used (most nerfers find the shells too easy to loose, especially in public games) so there’s not much of a knowledge base built up around it. You might need to do a little experimentation. I’d recommend starting with secondhand (or printed, if that’s a possibility) shells, removing the dart pegs, and using (if necessary shortened) normal darts.
For darts - Adventure Force darts are pretty good and can be bought cheaply in bulk at Walmart. I’m talking about the green darts with the blue heads. People in the hobby refer to them as “waffle” darts due to the tip design.
(Also, if you don’t mind a nitpick - the preferred term is “blaster,” not gun. This is for reasons which boil down to (a) avoiding dangerous misunderstandings and (b) setting an example that helps with (a)).
There’s a bit of a wall of text incoming here; there’s a lot that can be done with a Stryfe. The Stryfe is one of the, if not the, blasters with the most available aftermarket support.
You have a blue Stryfe, which in addition to being the IMHO best-looking Stryfes, came with a dart lock. This lock is intended to lock the trigger when the magazine is empty but can also lock up the trigger while firing rapidly. Removing that lock is the very first thing that I’d recommend doing, if it’s not already gone. It’s an orange piece of plastic inside of the blaster that sits above the magazine. You can reach in with a screwdriver through the jam door and pop it off.
If you open the blaster, you can remove the magwell lock (prevents the trigger being pulled without a magazine; adds unwanted friction) and perhaps the rev lock (prevents the trigger from being pulled without the rev trigger being pulled first; some people prefer to leave this one in).
After that, I’d recommend a rewire. This requires soldering. (Bodging it without soldering may be tempting but doesn’t end well.) 16 or 18 AWG is good; 14 would be overkill and hard to fit into the blaster. You can omit the electronic locks and (puny) overcurrent protection circuit when you rewire - the wire can go straight from your batteries to the rev switch to the motors and back to the batteries.
Replacing the rev switch is a very good idea for reliability. There’s plenty of room for an omron v-series switch inside the grip if you cut away some of the existing webbing. To mount the switch, you can glue in place a plastic block with holes for 4-40 machine screws to mount the switch, 3d print one of these, or just hotglue the switch in after soldering.
For batteries, most people would recommend a LiPo pack. If you clean out the battery tray (being careful not to leave any sharp edges) and use a Stryfe extended battery tray cover (there’s many designs available to print for yourself or buy on an aftermarket nerf parts store) there should be plenty of room for a pack. Other options include running NiMH rechargeable consumer cells in the stock battery tray for a very mile power upgrade. Beware of AA-sized lithium-ion loose cells - they conveniently fit in a stock tray but are both a fire hazard and a reliability hazard as they can cause battery holder springs to detemper.
If you’d like to take this project further, you can get drop-in replacement upgrade motors, replacement flywheels, and printed flywheel cages with tighter spacing that result in a tighter grip on the dart. (In IMO that order of priority.) Beware that “180” sized motors require cutting the shell to make them fit as they are longer than the normal “130” sized motors; you can buy or print extended motor covers if you go the 180 route.
If you’d like to take the project even further - this is possible, but probably overkill.
Another “upgrade” that you might want to consider is getting aftermarket magazines. I’m personally fond of Worker’s 22-round magazines as they offer a good capacity and reliability while being just small enough that I can fit them into tactical gear.
. . . And I haven’t even mentioned cosmetic kits. My point is that there’s lots and lots of things that you can do.
A pushing trigger would instead move in the same direction as the string tension, temporarily reducing the load on the catch before releasing.
I’m not entirely sure what you mean here, but it sounds like the mainstring’s tension could actuate the catch and fire the blaster without a trigger pull under this setup.
Perhaps pictures would help?
More generally, there’s multiple ways to set up a catch and all of them have advantages and disadvantages. We’d be in a better position to answer this question if we had a clearer idea of your design goals - do you want to minimize parts count, have heavy string loads, have a good clean-feeling trigger pull, or some balance of all of these?
If you’re worried about the friction on 3d printed plastic, having a pivoting catch which uses a bearing as the sliding contact between the catch and the notch on the sled is an option. This is normally not necessary - Caliburns can have decent spring loads with pure plastic pivoting catches - but could enable string loads far above what conventional springer catches handle.
I’ve been there.
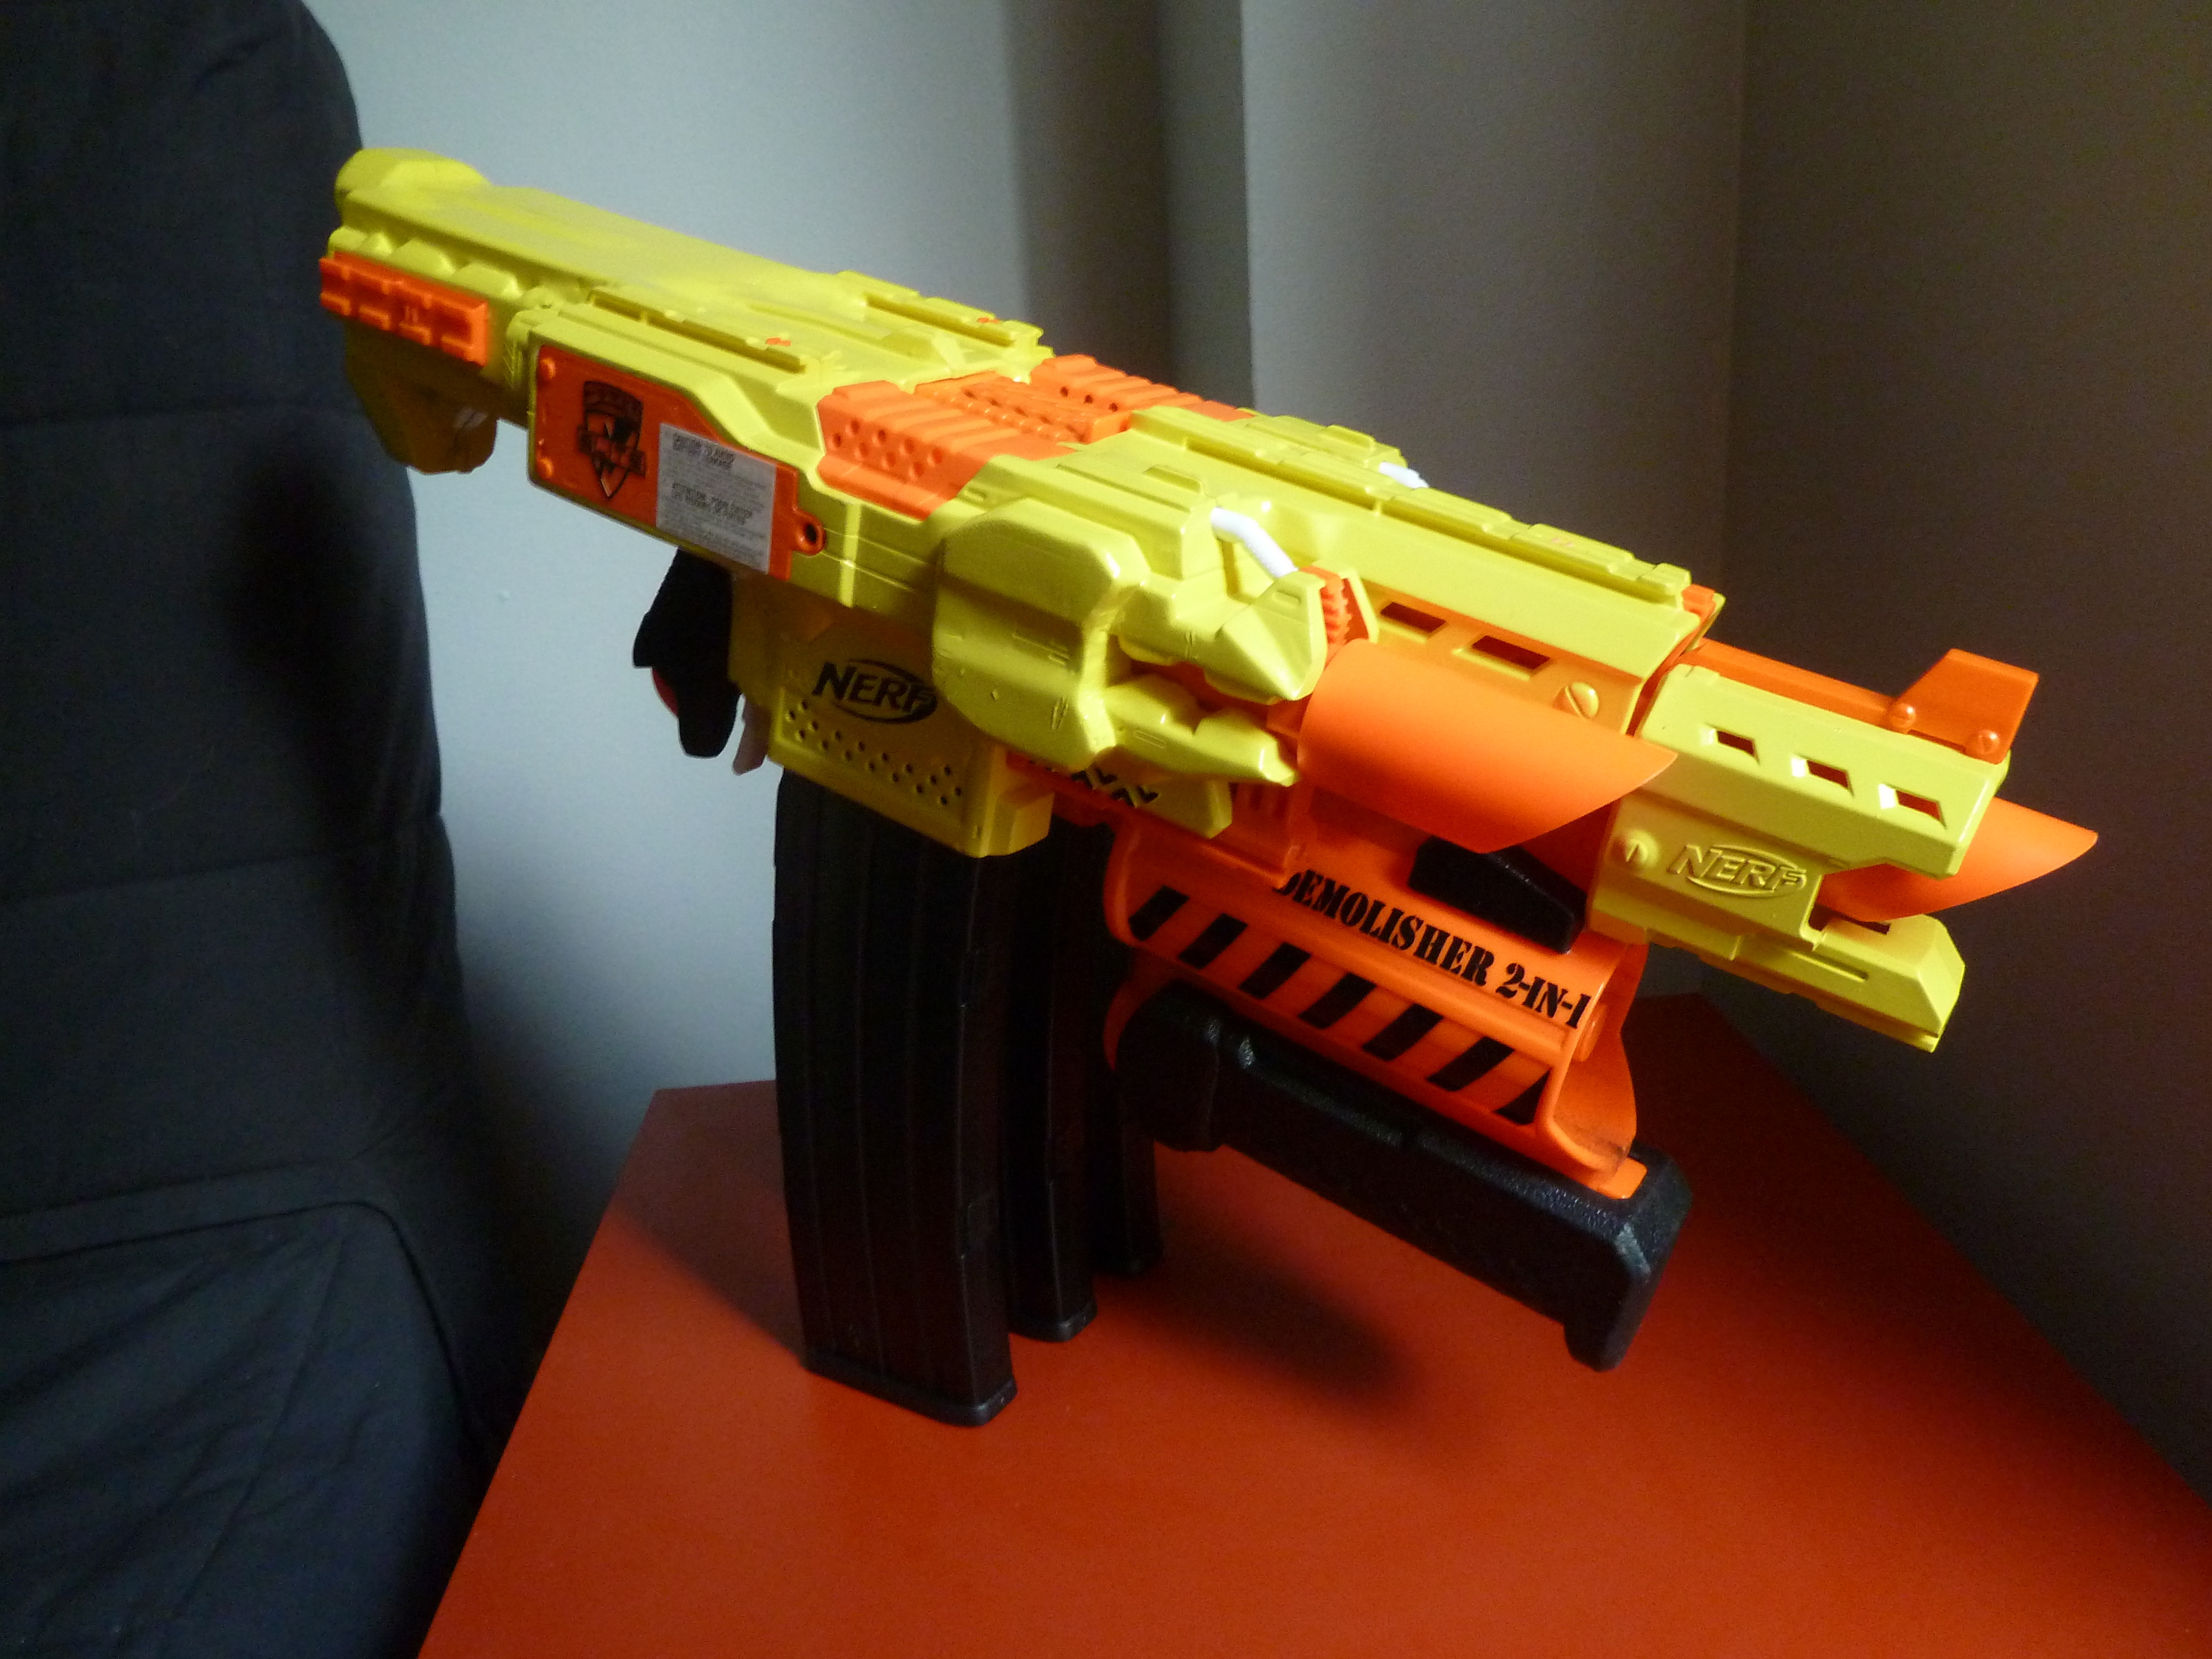
Waterloo occasionally hosts invitationals which take place over a weekend, with a series of five or six missions back-to-back on the first day with more relaxed player-organized minigames on the day after. If you imagine a full week of HvZ compressed into one day, cutting out the between-classes play and leaving the most intense parts i.e. the missions, then this is pretty much that. Waterloo campus is a tightly integrated network buildings connected through tunnels and skyways. There’s always more than one way to get where you’re going, and there’s a lot more tight corners and shorter sightlines than on a typical campus. All of this adds up to make running away far more viable as a survival strategy for humans than on other campuses; the locals know this well and know the best escape routes. Personally, I prefer to fight but I’m OK with a running fight; I like to keep other humans alive by keeping zombie headbands down. I made this triple flywheeler integration primarily for that purpose and was lugging it around for most of the day. As an invitational attracts more serious and better-armed players, the moderators decided to compensate by implementing a short stun timer: five minutes, later reduced to four. For a full day of missions, this is pretty brutal.
The ultimate upshot of this is that both the humans and the zombies did a lot of running for the whole day. It was great, but by the end of it, I had a hard time going down stairs. (Surprisingly, it was going down stairs that was the most difficult. Climbing up stairs was easier.) I now have a better idea of what it is like for creaky old people, and I have Waterloo HvZ to thank for that.